
C2C Workshop
Lesson Three - Making a Rectangle
Lesson Three builds on the basics from Lesson One and Lesson Two. We will take what we learned from Lesson One and most of Lesson two and turn it into a rectangle.
When creating a rectangle, you will stop decreasing on one side or end when you reach your desired width. You will continue to increase on the other side or end until you reach your desired height. Then you will start decreasing on both sides/end.
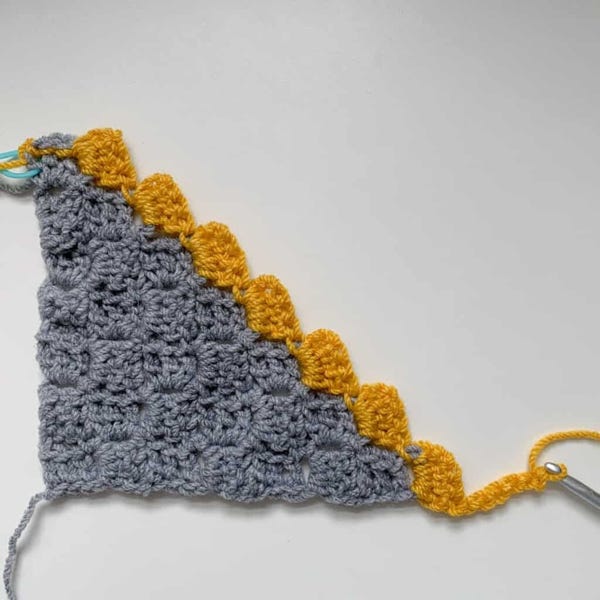
Step One
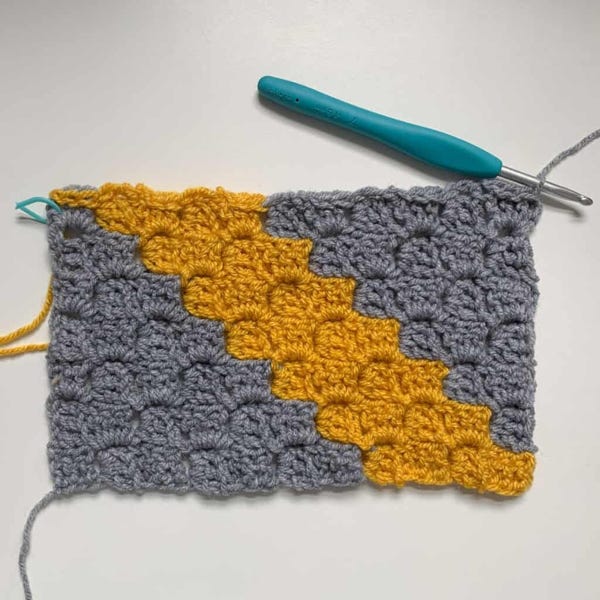
Start with the basics learned in making a C2C square. When you get to your desired width, you will be at the point to start creating a rectangle.
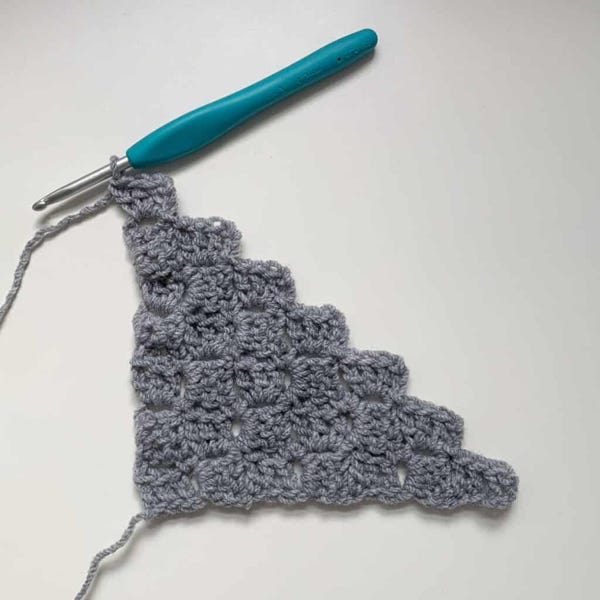
Step Two
Start by slip stitching across the dc and ch3-sp from the previous row, then chain 3. This is the decrease.
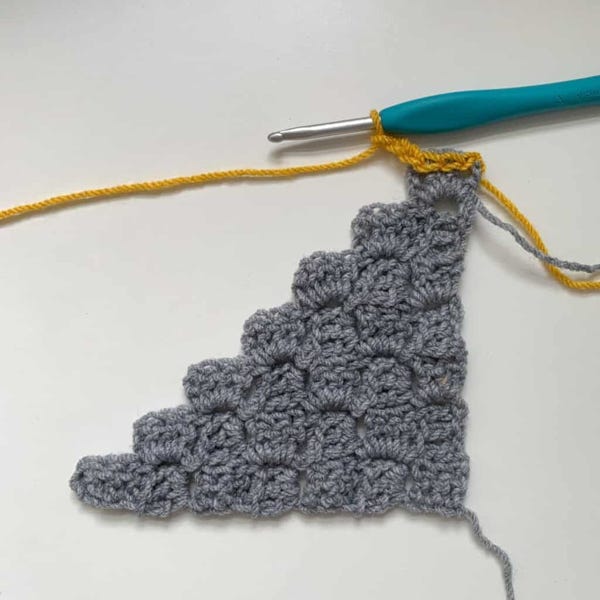
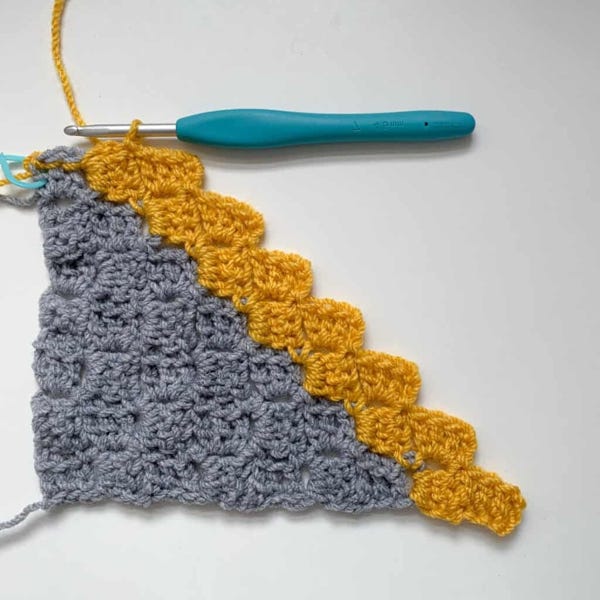
Step Three
Next, work the 3dc block into the ch3-sp, ss into the next ch3-sp and ch3 to continue.
Step Four
Continue working in the c2c pattern to the end of the row, working a block in the last ch3-sp as with a normal increase row.
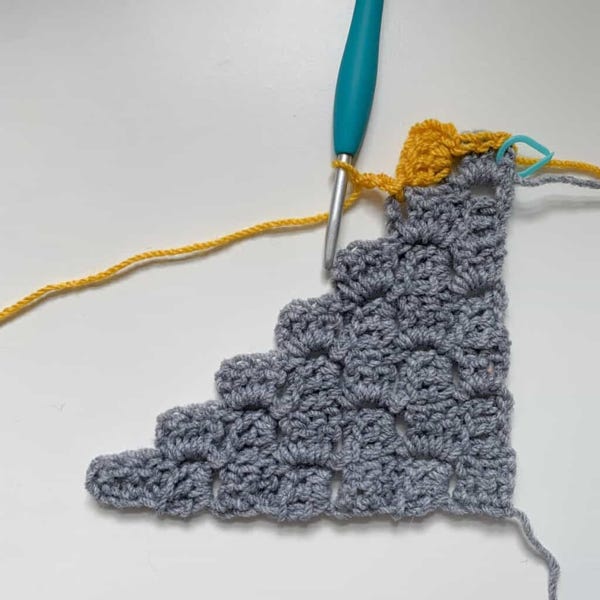
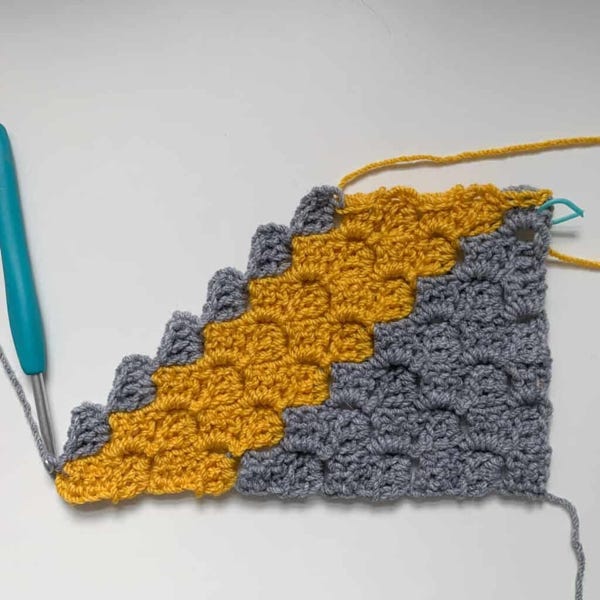
Step Five
You start by chaining 6 as with a normal increase row.
Step Six
Then you work in the normal c2c pattern to the end, but you do not make a block in the last ch3-sp.
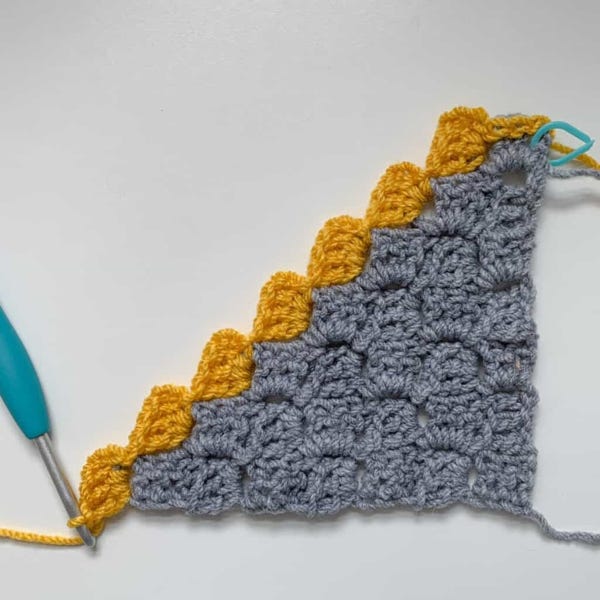
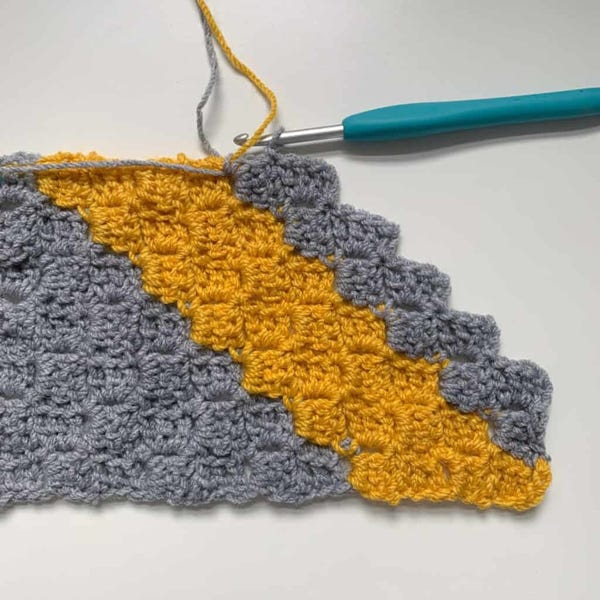
Step Seven
To continue working your rectangle, simply repeat Steps One through Five until your rectangle reaches your desired length.
To keep straight sides, it’s important you keep all the increases on one side and all the decreases on the other side. This is why you have a two row, alternating pattern repeat.

Source: Dora Does at https://doradoes.co.uk/2021/08/05/how-to-crochet-a-rectangle-using-the-corner-to-corner-c2c-stitch/